
Codex App Configuration Guide
Scope This article only covers connecting Codex App to LLMoxy, with the example model uniformly using
grok-4.7. For the terminal version, please refer to the "Codex CLI Configuration Guide".
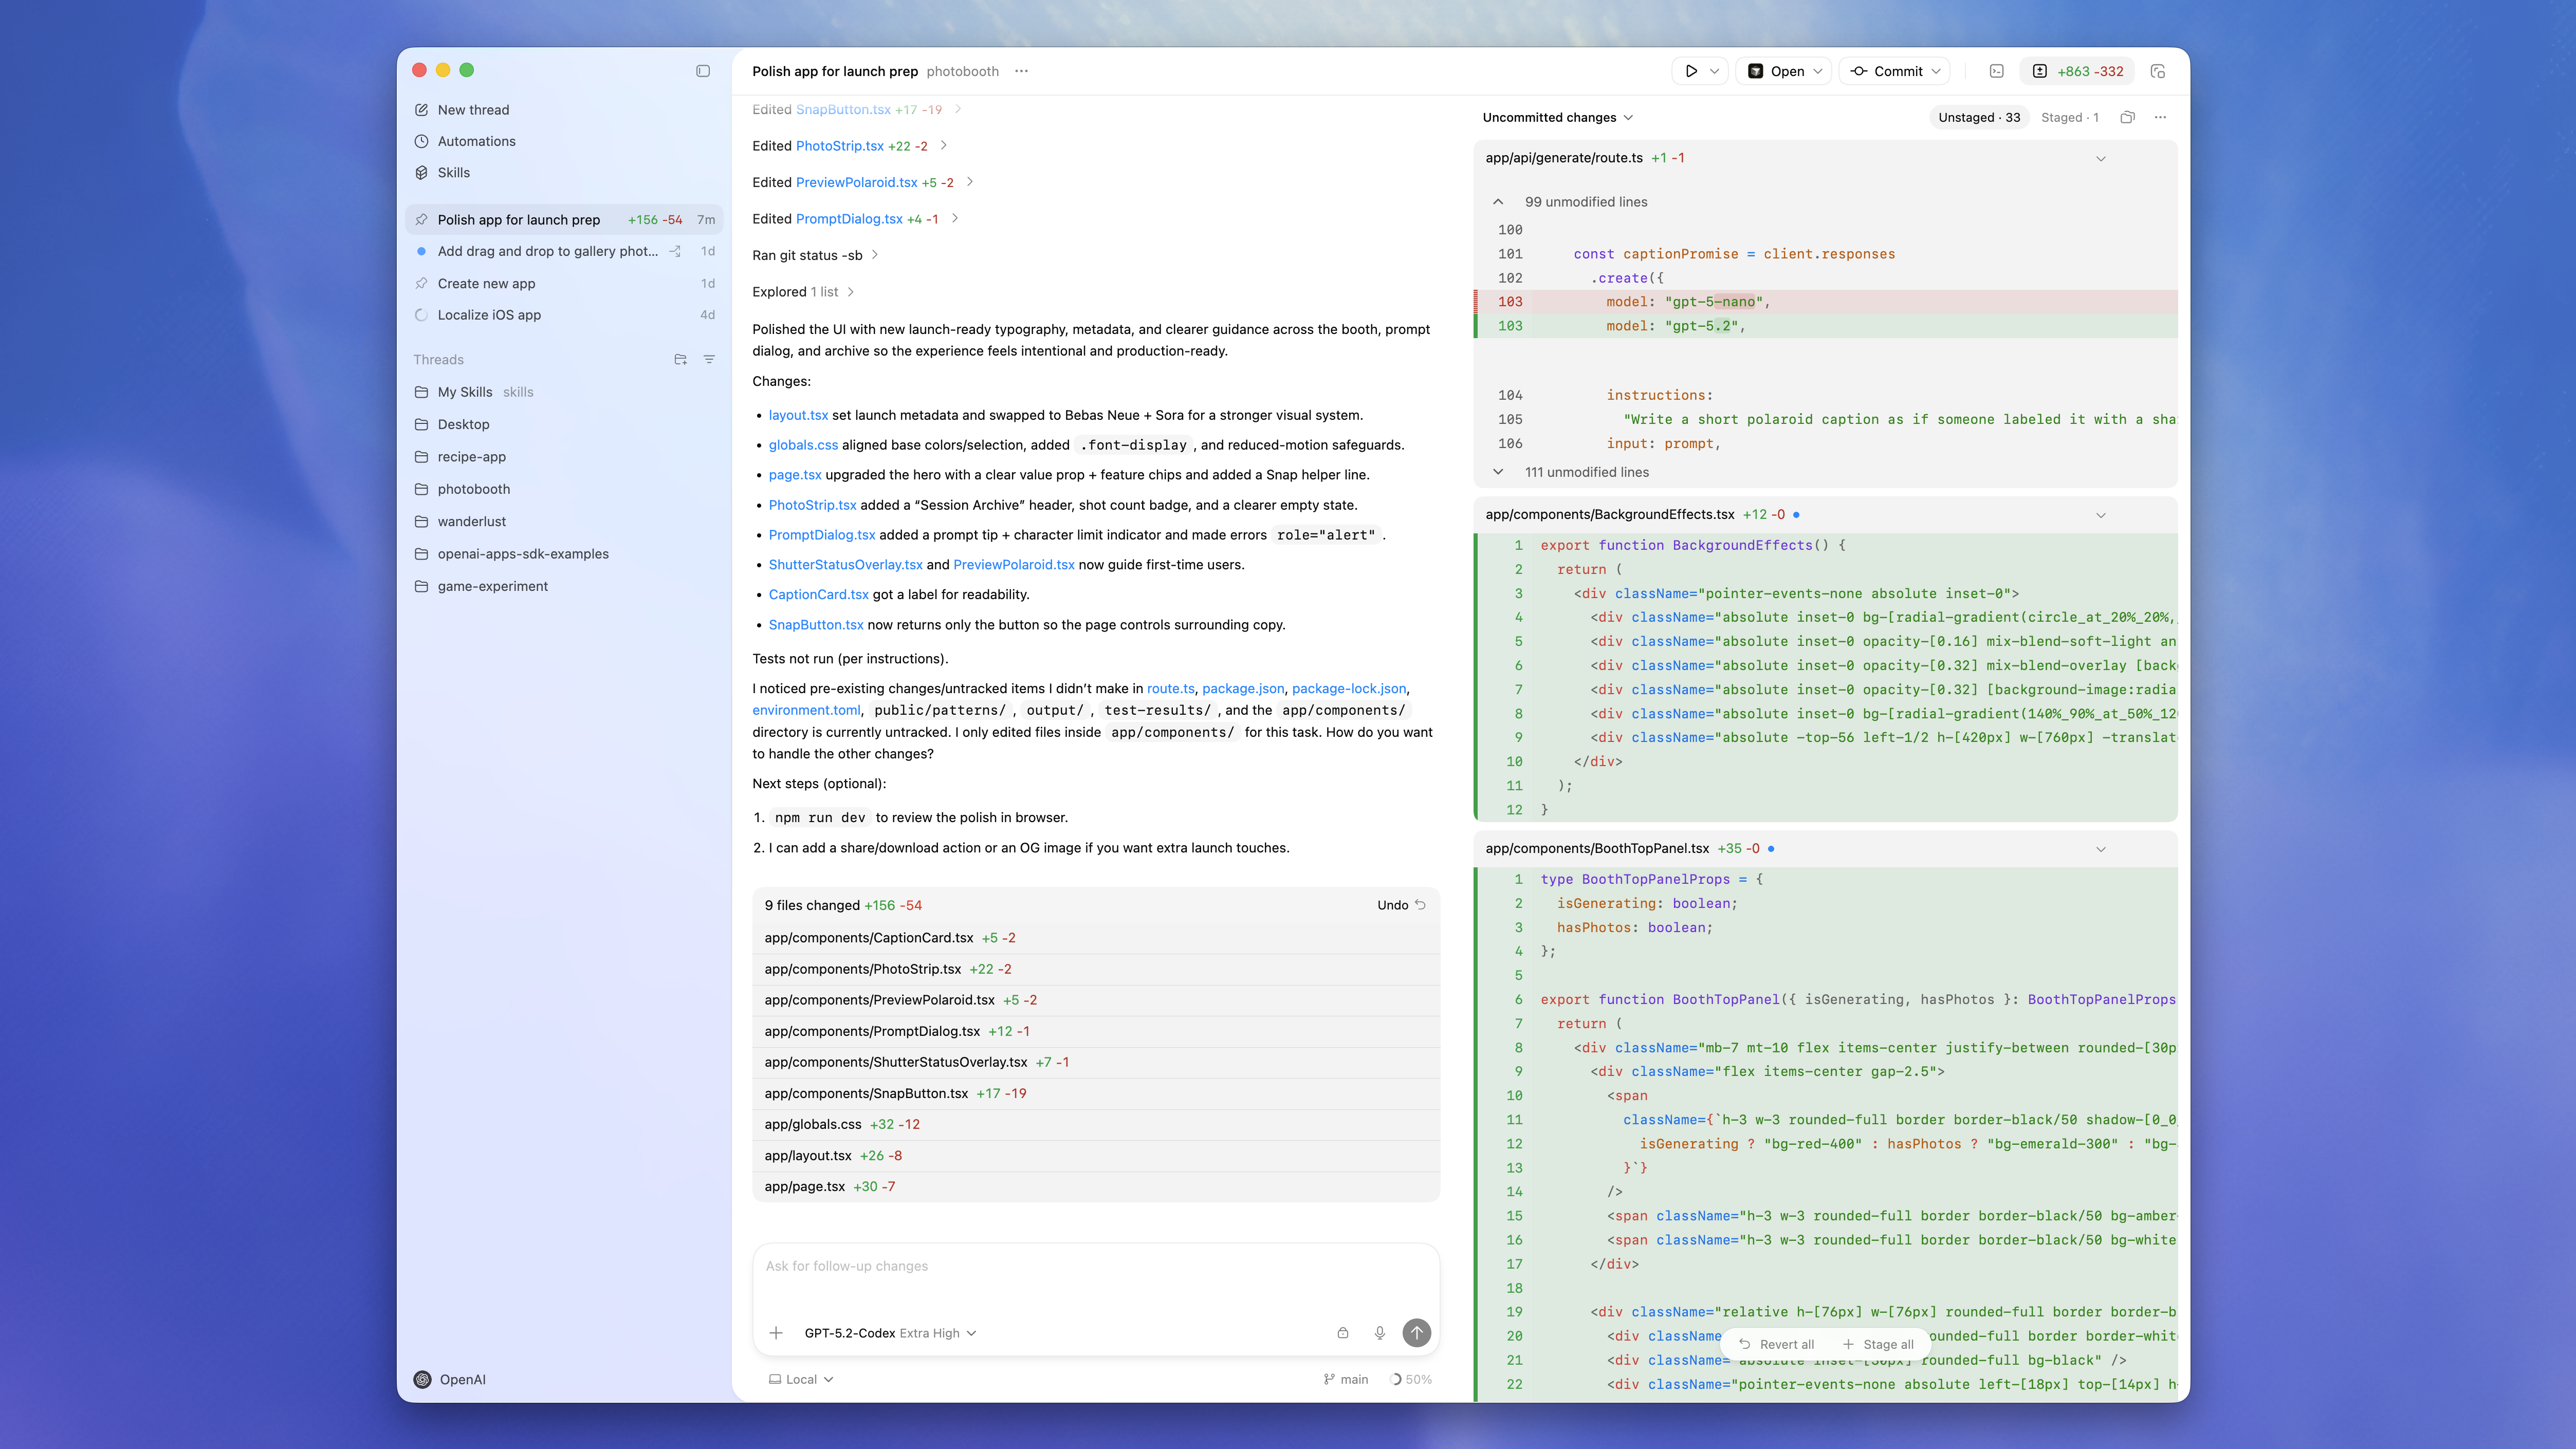
Preparation
Prepare three things before starting:
- An active LLMoxy account
- An auto group LLMoxy API Key
- The model name used uniformly in this article:
grok-4.7
Codex App shares the Codex configuration layer with Codex CLI and IDE plugins. User-level configuration is usually placed in ~/.codex/config.toml; in Windows native mode it corresponds to %USERPROFILE%\.codex\config.toml.
Universal LLMoxy Configuration
The following macOS, Windows Native, and Windows + WSL sections all use the same configuration. Write it to the config.toml in the corresponding environment:
Configuration meanings:
model_provider = "llmoxy": Default to the LLMoxy Provider defined belowmodel = "grok-4.7": Default to calling Grok 4.7 on LLMoxybase_url = "https://llmoxy.com/v1": Codex OpenAI compatible endpoint needs/v1wire_api = "responses": Use/v1/responses. Codex supports only this value;chatfails with an errorenv_key = "LLMOXY_API_KEY": API Key is read from environment variables, not written into the config fileapproval_policyandsandbox_mode: Keep confirmation and workspace sandbox, suitable for ordinary users getting started
macOS Installation and Configuration
1. Install Codex App
Open the official macOS download address:
After downloading, double-click .dmg and drag Codex into Applications as prompted by the system.
2. Write configuration file
Open a terminal and create the Codex configuration directory:
Paste the "Universal LLMoxy Configuration" above and save.
3. Set API Key
The default Shell on macOS is usually Zsh; write to ~/.zshrc:
Verify:
You must replace Your LLMoxy API Key with the real token copied from the console.
4. Open project to verify
Launch Codex App, select a code directory, and send a lightweight task:
Explain the current project structure and point out where the entry file is.If Codex can read the project and reply normally, the macOS side is connected to LLMoxy.
Windows Native Installation and Configuration
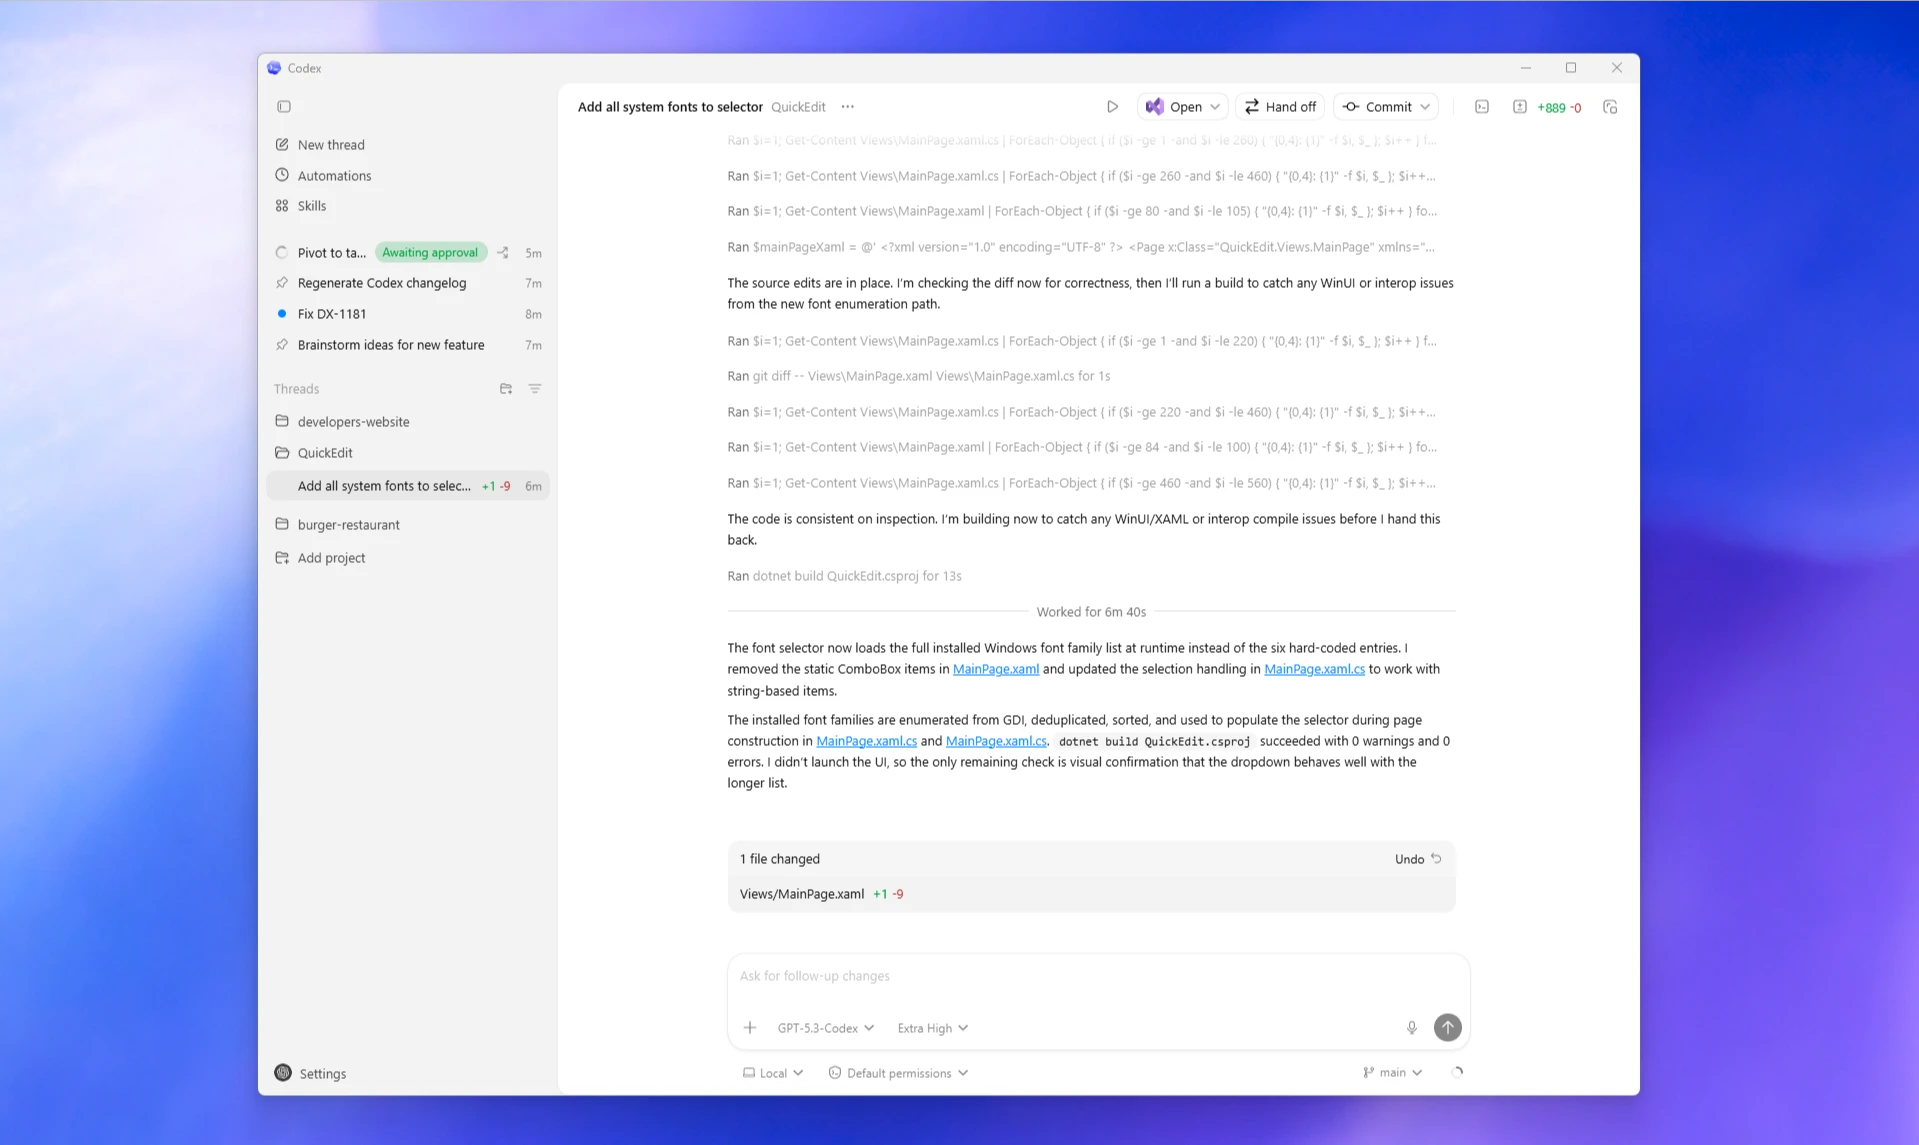
Windows uses Windows Native Agent by default; commands execute in the PowerShell environment, and the configuration file is under the Windows user directory.
1. Install Codex App
Choose either method:
- Microsoft Store page: Codex App
- PowerShell installation:
2. Write configuration file
Create and open the configuration file with PowerShell:
Paste the "Universal LLMoxy Configuration" and save.
The actual path is usually similar to:
C:\Users\YourUsername\.codex\config.toml3. Set API Key
We recommend writing to Windows user-level environment variables:
Close Codex App and PowerShell, reopen and verify:
4. Open project to verify
Launch Codex App, add a project directory, then send:
Run git status and explain the current workspace state.If PowerShell execution policy blocks script execution, you can run in PowerShell:
If Git functionality is unavailable, install native Git first:
Windows + WSL Configuration
If your project is mainly developed in the Linux toolchain, you can switch the Codex Agent to WSL.
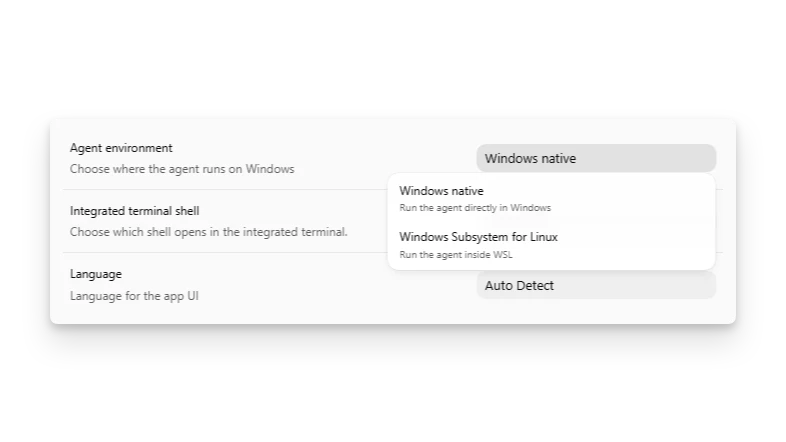
1. Switch Agent
In Codex App, open Settings, switch Agent from Windows Native to WSL, then restart the App. This setting takes effect after restart.
2. Write WSL internal configuration
After switching to the WSL terminal, create the configuration:
Write the "Universal LLMoxy Configuration" to ~/.codex/config.toml inside WSL.
3. Set WSL internal API Key
Bash users:
Zsh users:
Verify:
Windows Native and WSL are two separate environments. When Agent runs in WSL, you need to modify ~/.codex/config.toml in WSL and set LLMOXY_API_KEY in WSL.
Common App Settings
Default editor
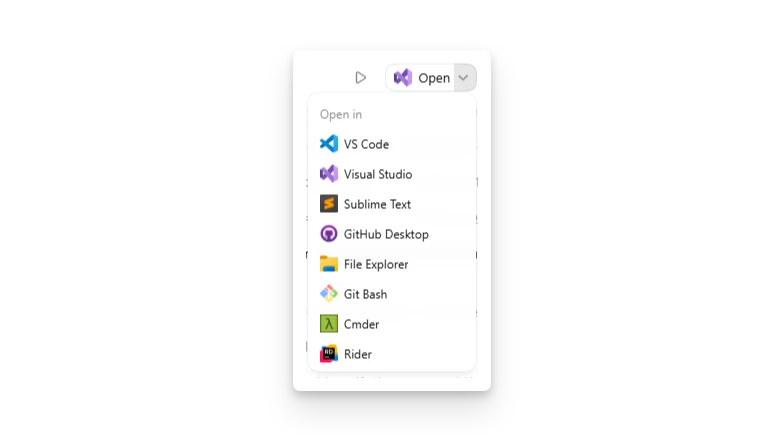
You can select the default Open In editor in settings, such as VS Code or Visual Studio.
Integrated terminal
Under Windows, the integrated terminal can choose PowerShell, Command Prompt, Git Bash, or WSL. This setting and the Agent runtime environment are two different things: you can let Agent run in WSL while the integrated terminal still uses PowerShell.
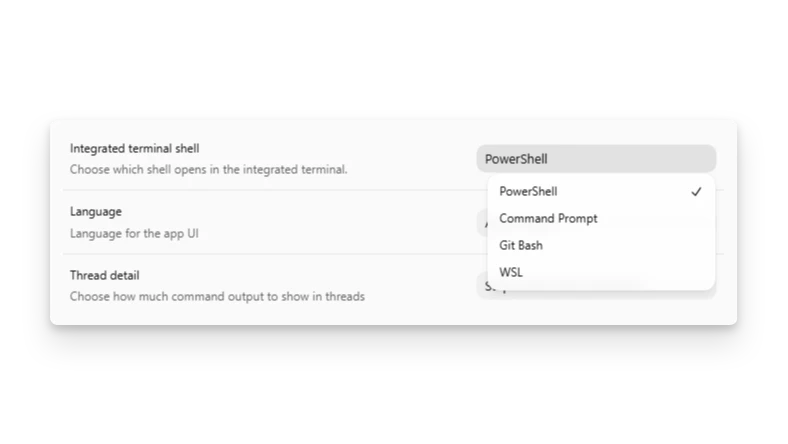
After modifying the terminal, it usually only takes effect for new sessions; restart Codex App if necessary.
Common Issues
Still asks to log in to OpenAI after launch
Confirm that config.toml in the current environment has been written:
And confirm that LLMOXY_API_KEY can be read in the same environment. When using the LLMoxy Provider, Codex uses the API Key from the environment variable to call LLMoxy; there is no need to write the secret key into the config file.
404 or model does not exist
Check three items:
base_urlmust behttps://llmoxy.com/v1modelmust begrok-4.7- API Key should use an auto group token
Windows and WSL configuration inconsistent
See which environment the Agent is running in:
- Windows Native: modify
%USERPROFILE%\.codex\config.toml, set Windows user environment variable - WSL: modify
~/.codex/config.tomlinside WSL, set WSL Shell environment variable
Want to reset to more conservative permissions
Keep the following configuration:
This will make Codex ask before going beyond the sandbox or performing sensitive operations.